Pipeline offers multiple methods for creating a pipeline, including HTTP and gRPC APIs, the Python/TypeScript SDK, and the web Console.
#Create Pipeline via API
Note that the NAMESPACE_ID path parameter must be replaced by the pipeline
owner's ID (namespace). The id should be lowercase, without any space or
special character except for hyphens. It cannot start with a number or hyphen,
and should be less than 32 characters.
For more details, please refer to the API Reference.
#Pipeline Object
In the Create Pipeline and all APIs in Manage Pipelines, all endpoints follow a consistent structure for request and response bodies. Below are the key fields:
id: The pipeline's unique identifier.uid: The immutable UID of the pipeline.name: The full resource name of the pipeline.description: A brief description of the pipeline.readme: A README for the pipeline.rawRecipe: The pipeline's recipe in YAML format. For more details, see Pipeline Recipe.recipe: The JSON representation of the YAML recipe (read-only).sharing: The sharing settings for the pipeline. For more information, refer to Share Pipeline.releases: Associated releases of the pipeline. For more information, refer to Release Pipeline.stats: Statistical data related to the pipeline.
For additional details, please refer to the API reference.
Example Pipeline Object:
{ "name": "users/test/pipelines/sample", "uid": "fd9d9e8f-8533-45ea-b8c9-f4029d9ad1af", "id": "sample", "description": "This is a sample pipeline", "recipe": { "version": "v1beta" }, "createTime": "2024-10-01T02:54:18.594935Z", "updateTime": "2024-10-01T02:54:18.594935Z", "deleteTime": null, "sharing": { "users": { "*/*": { "enabled": true, "role": "ROLE_EXECUTOR" } }, "shareCode": null }, "metadata": {}, "ownerName": "users/test", "releases": [], "readme": "", "permission": { "canEdit": true, "canTrigger": true, "canRelease": false }, "owner": { ... }, "dataSpecification": null, "tags": [], "stats": { "numberOfRuns": 0, "lastRunTime": "0001-01-01T00:00:00Z", "numberOfClones": 0 }, "rawRecipe": "version: v1beta\n\n# ---------- Data ----------\n# Variables that manually trigger the pipeline and can be referenced in component actions\n# Structure example:\n# variable:\n# key: # Unique identifier for the variable.\n# type: # Data type, e.g., image, string, array:string.\n# title: # Title of this input field.\n# description: # Introduction of what should be input. \n#\n# variable:\n\n# Custom user-defined output\n# Structure example:\n# output:\n# key: # Unique identifier for the output.\n# title: # Title of this output field.\n# value: # Can be a value or use ${} to reference data.\n#\n# output:\n\n# ---------- Schema ----------\n# Component actions executed during the pipeline run\n# Click \"⌘O\" to add a new component\n# component:\n", "sourceUrl": "", "documentationUrl": "", "license": "", "profileImage": "http://localhost:8080/v1beta/users/test/pipelines/sample/image", "endpoints": { "webhooks": {} }}
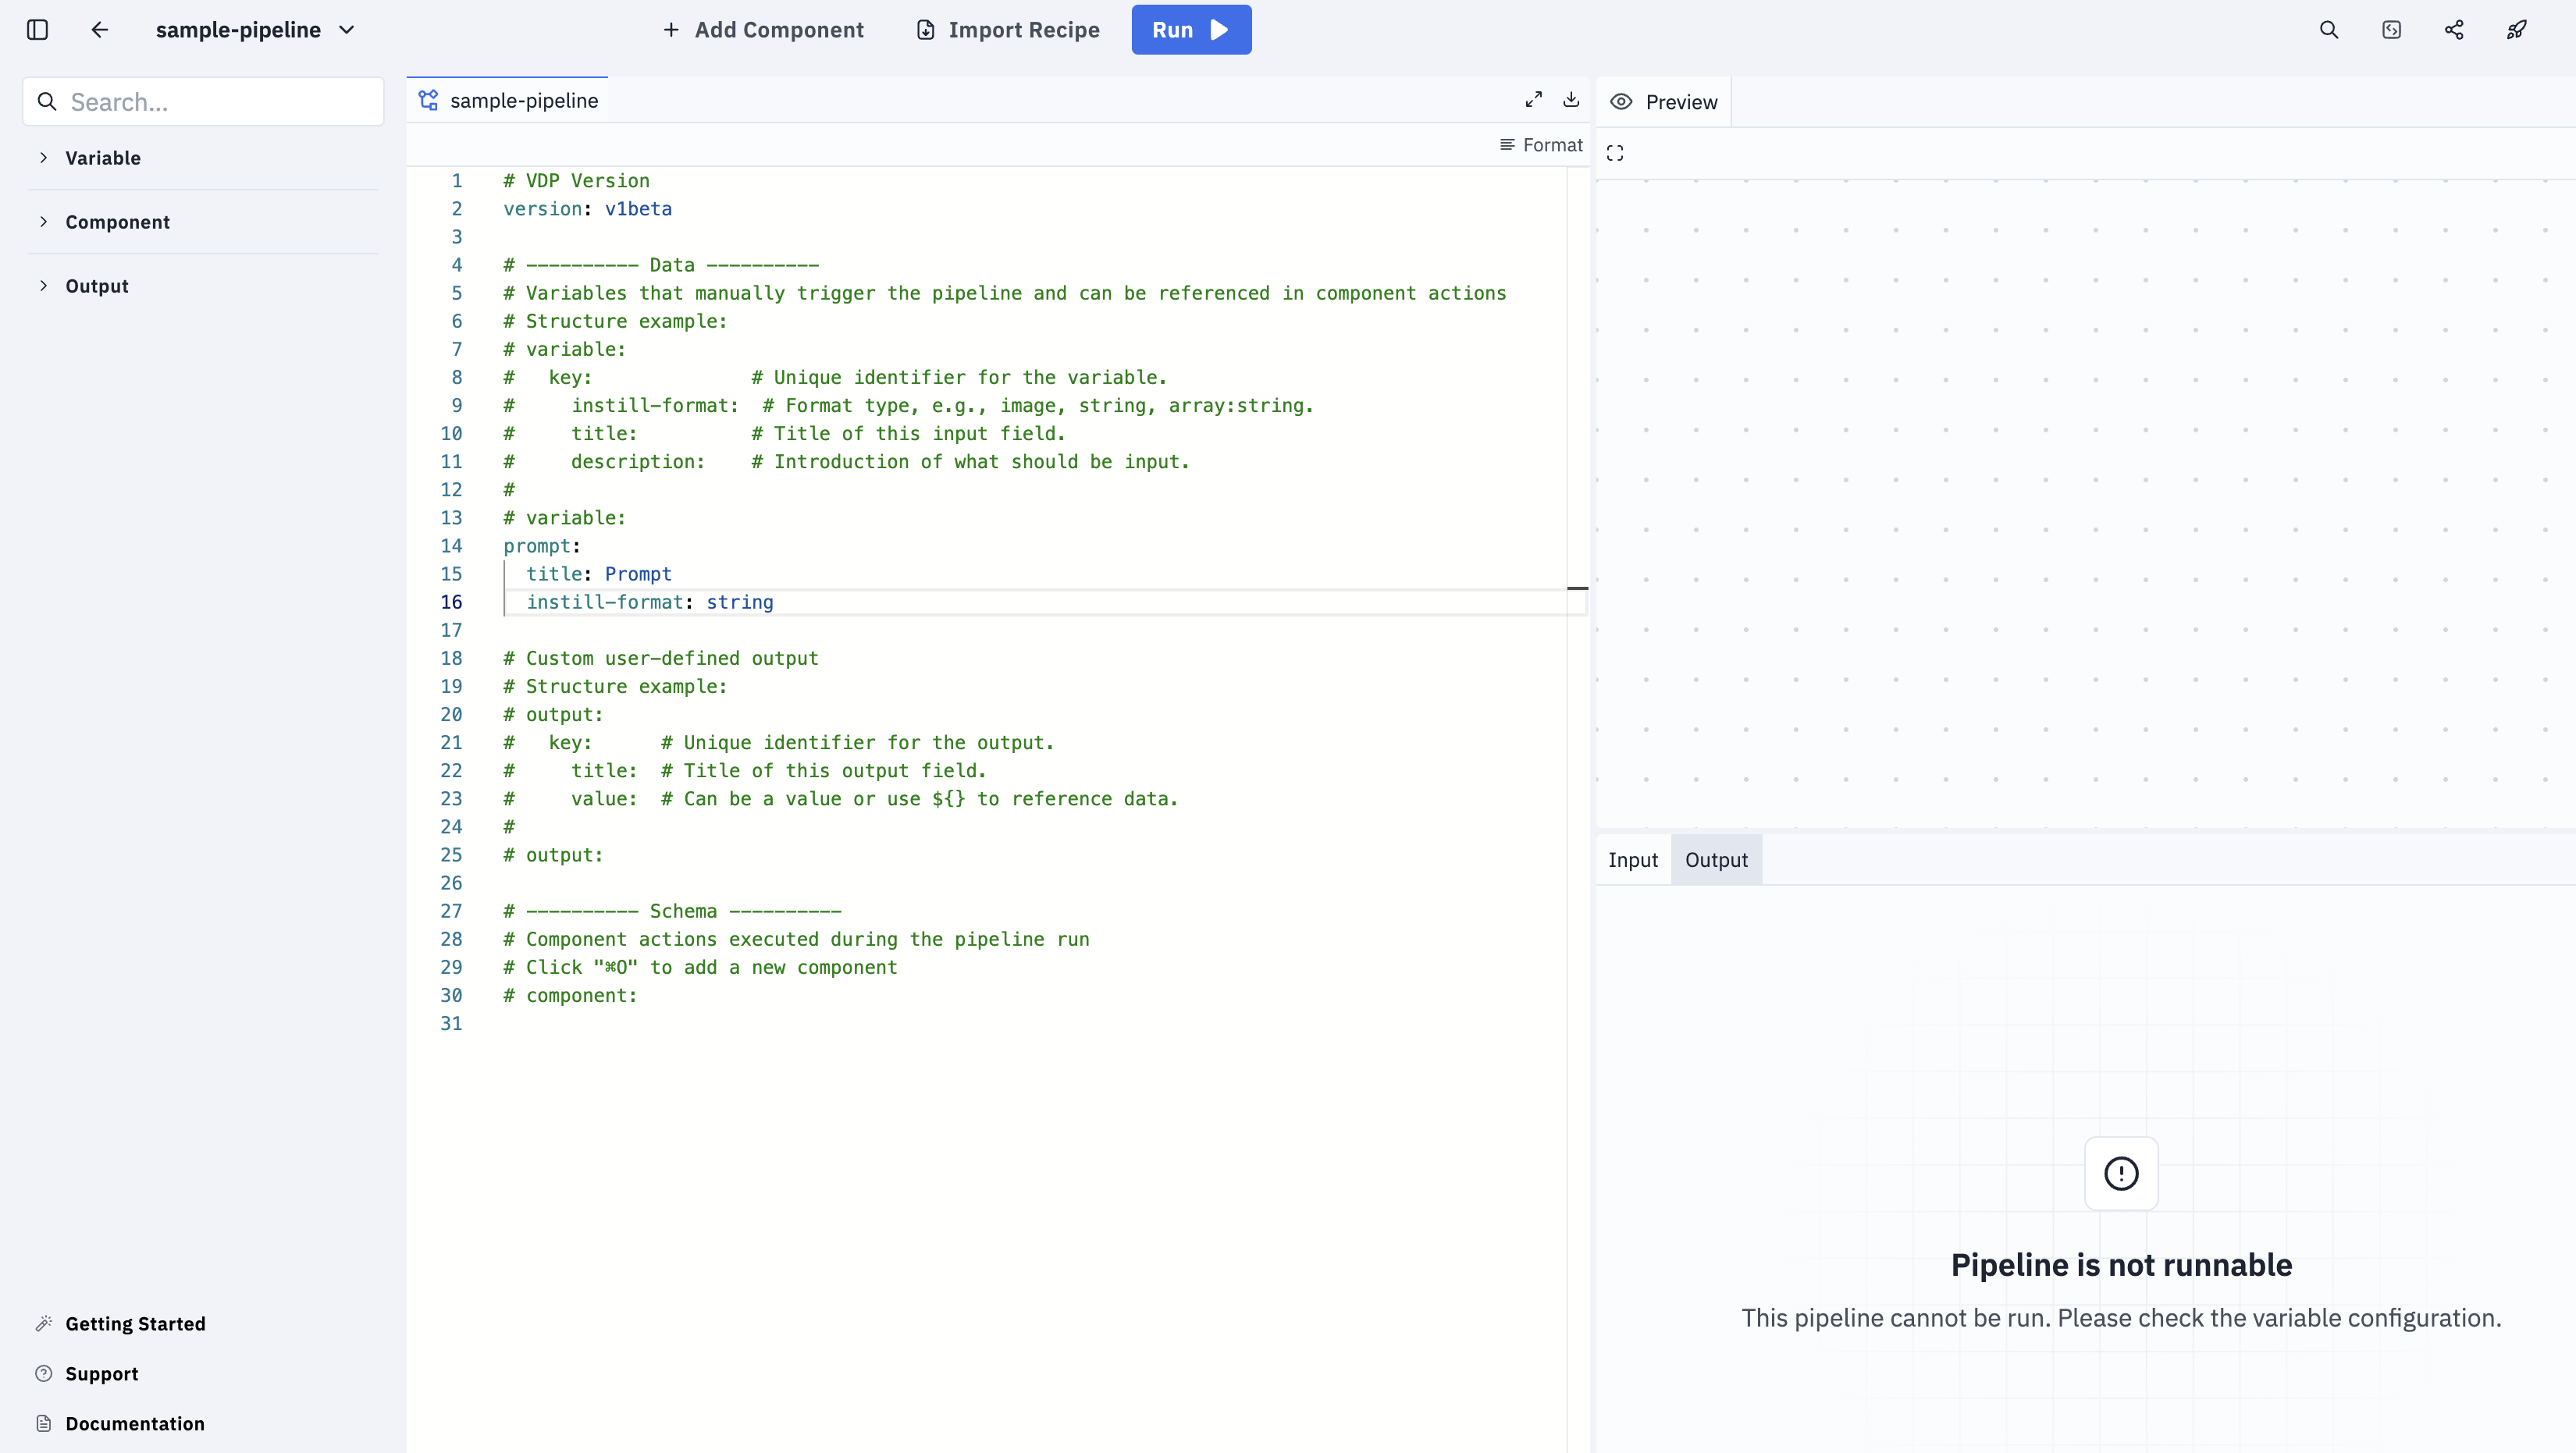
#Create Pipeline via Console
To create a new Pipeline from Instill Console, follow these steps:
- Launch Instill Console via a local Instill Core deployment at http://localhost:3000.
- Navigate to the Pipelines page using the navigation bar.
- Click the
+ Create Pipelinebutton. - Select the
Owner(namespace). - Enter the name for your Pipeline.
- Enter the description for your Pipeline.
- Setup your Pipeline be public or private.
- Click the
Createbutton. - Instill Console will redirect you into the pipeline editor.